
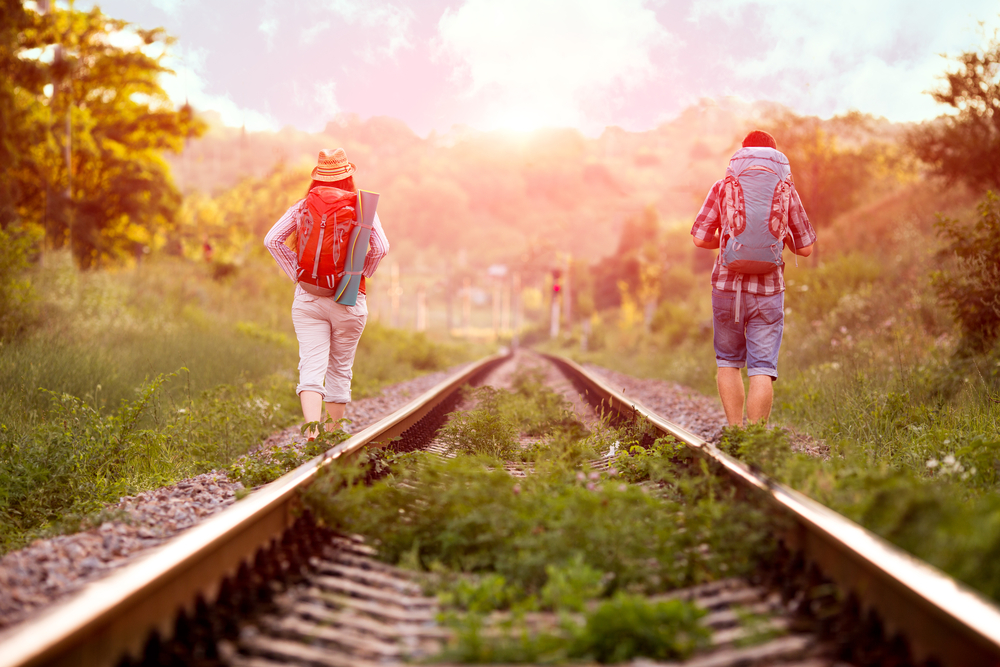
So you’re planning a budget backpacking trip?
After spending over 2 years backpacking through 6 continents, with a budget of around $25 a day, I have come up with my top 8 tips that I would give to every budget backpacker before setting off on their journey. Whether this is your first backpacking trip, or you’re an experienced backpacker, these tips can help you decide what to pack, how to manage your money, and where to go.
Top Tips for Backpacking on a Budget
1: Get a Travel Debit Card
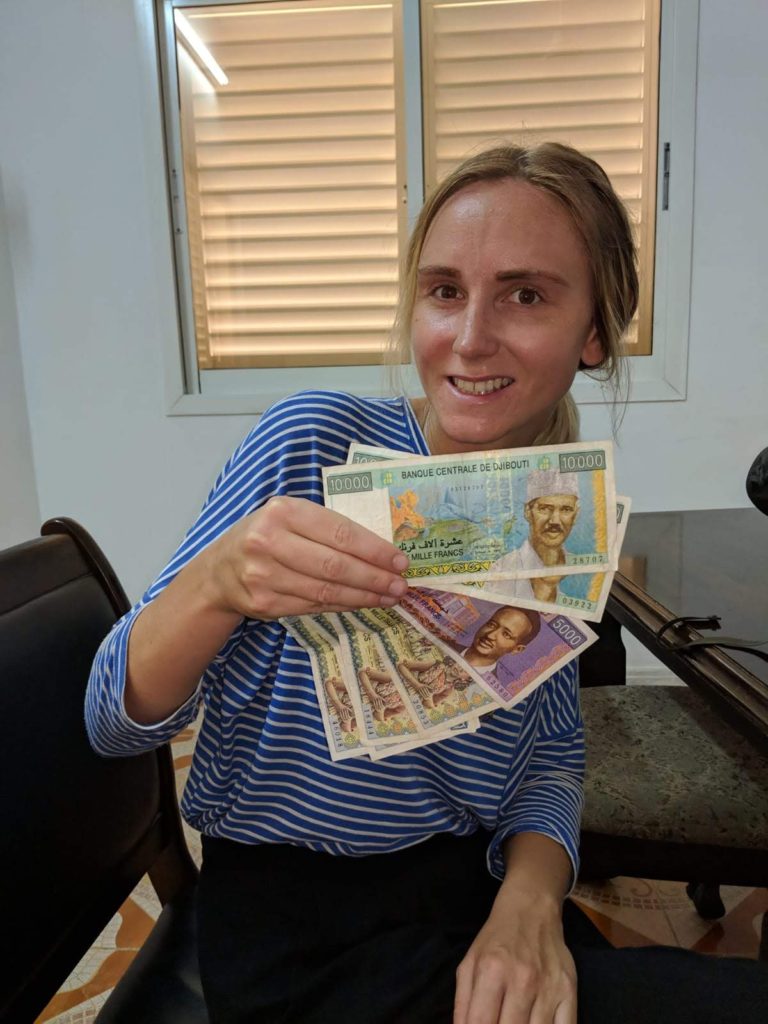
How you manage your money will determine how successfully you’re able to backpack on a budget. And one of the best ways to save money while travelling is to get a travel debit card that doesn’t charge international withdrawal fees.
Gone are the days when you had to pay fees on every single transaction and withdrawal abroad. There are now some excellent debit cards designed with travel in mind. I personally use the Revolut card which is expanding massively and is available in lots of countries now, but there are also different US and European cards which offer similar benefits. This card will never charge you a fee to withdraw cash at an ATM, anywhere in the world.
Other similar cards that are perfect for travel include:
-Starling
-Monzo
-Virgin Money Credit Cards
-N26
-Curve
-Amex Platinum (this also comes with free travel insurance and airport lounge access)
2: Research the Best ATMs and Banks to Use
Even if you have a travel debit card that doesn’t charge withdrawal fees, some ATMs will still charge you a fee. So it’s worth researching which ATMs are best to use in your destination.
I think out of 92 countries I’ve travelled to, I have only paid an ATM fee in maybe 5 or 6 countries where it is almost impossible to find a free ATM (off the top of my head I can think of Thailand, Cuba, and I think Myanmar). I often have to go to one or two different ATMs until I find a bank which doesn’t charge. There is almost always at least one bank in every country that won’t charge for withdrawals. Once I know which one it is, I will just use this bank’s ATMs for every transaction. Over 2 years, using a travel debit card and finding free-to-use ATMs has saved me hundreds of dollars, if not more, in card and ATM fees.
3: Download a Currency App
Another way to save money is to download a currency app, such as the XE Currency App or OANDA Currency Converter. These are free apps that you can download to check the current exchange rate offline — you won’t need to data or wifi to do so.
This is always handy when you arrive in a new country and can’t get your head around the currency, or to check you’re not getting hustled at a currency exchanger. You can also use a currency app to check the price of groceries, souvenirs, and meals, and compare prices to the costs of things back home.
4: Choose Budget-Friendly Destinations
If you want to travel long term, go where your money will last the longest.
Of course, Paris and Venice are on everyone’s bucket list, but if you want to travel on a budget now, why not hold off on these places – they will always be there and probably won’t change that dramatically.
Visit the cheaper places now, there are many countries in Asia or South America you can visit. This cost per day spending decrease can extend your travel time by over double. If you are set on visiting Europe, you could consider going to the less travelled, cheaper destinations in Eastern Europe.
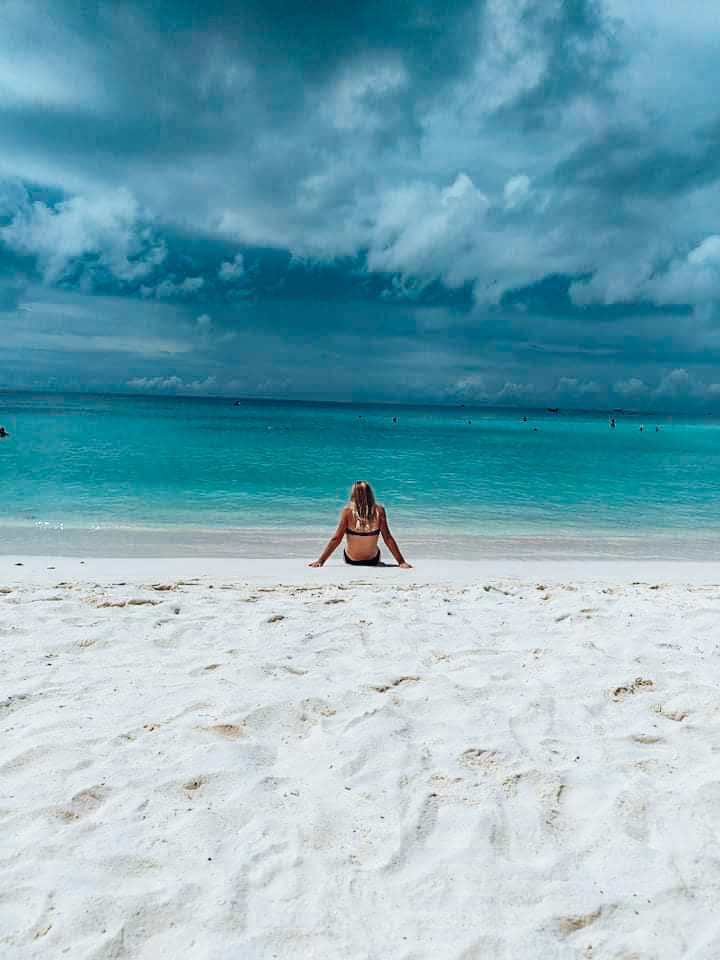
If I had the option of travelling to Europe for 2 months or Asia for 6 months, I know which one I would pick. 6 months of travel over 2, every time.
Here are three examples of place swaps that I think could give you similar experience but could cost you a fraction of the cost:
Instead of Here → Visit Here Instead
Dubrovnik, Croatia → Kotor, Montenegro
Korfu, Greece → Himare, Albania
Serengeti, Kenya → South Luangwa NP, Zambia

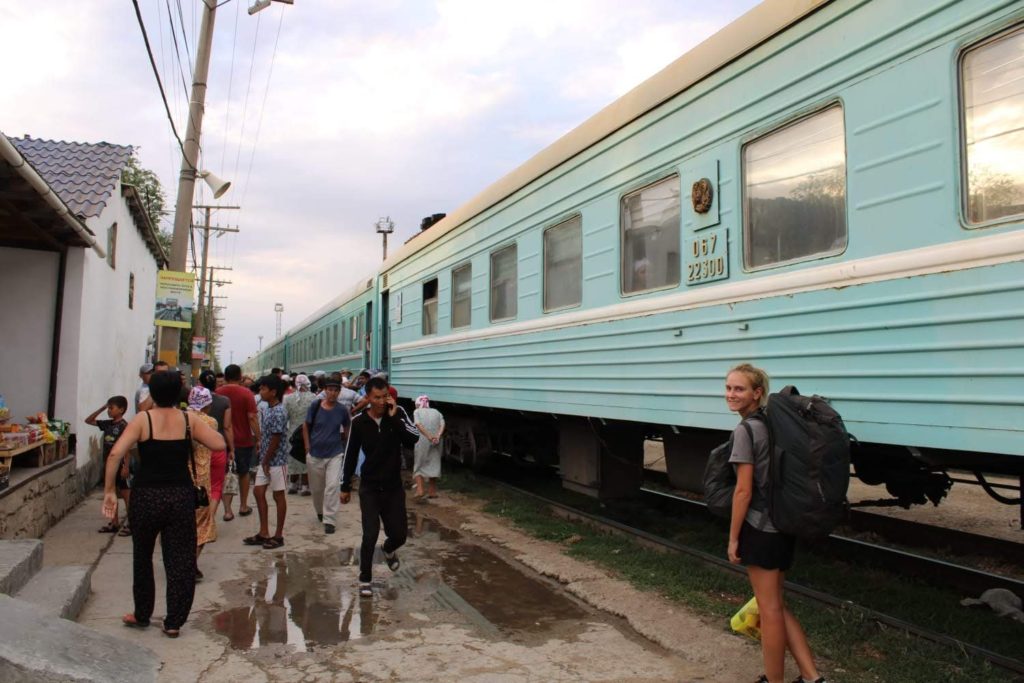
5: Invest in a Decent Backpack
Invest in a decent backpack – It is worth the money.
Get a backpack with the zip at the front rather than the old classic top open style, they are so much more practical and easier to use every day. When I first travelled with my open front backpack, it completely changed my feeling towards travelling with a backpack, and I really enjoyed using it.
Keep your backpack to 10kg, trust me – you will thank me later. It makes such a big difference. You will probably be walking a lot when you don’t want to take an expensive taxi from the bus station, so you want it as light as possible, but that’s not the only benefit. It is also great because you can take your bag on the bus or plane with you instead of checking it in – which often costs more money, is more susceptible to theft, and takes time. We used to take our bags on the buses, then just ask the drivers to stop as close as we could to our accommodation, and we would just jump off the bus. If we had bags underneath in the hold, they wouldn’t let us stop to get the bags off, and we had to wait until the final destination, so it’s well worth having a smaller bag.
And to keep your backpack organised, there are plenty of packing cubes for backpacks.
6: Pack Practical, Good Quality Clothes
Take versatile, good quality clothes.
Don’t take bright colourful dresses that you won’t want to wear every day, as all your photos will be wearing the same outfit. Take a few pairs of shorts, in versatile colours- black, grey, blue, and take some trusty shirts with the same principle. Make sure these clothes are durable and made to last too. Also definitely avoid synthetic clothes that get super wet and smelly in hotter, humid climates – go natural like organic cotton or hemp. Check out Hempton Apparel for some great travel shirts.

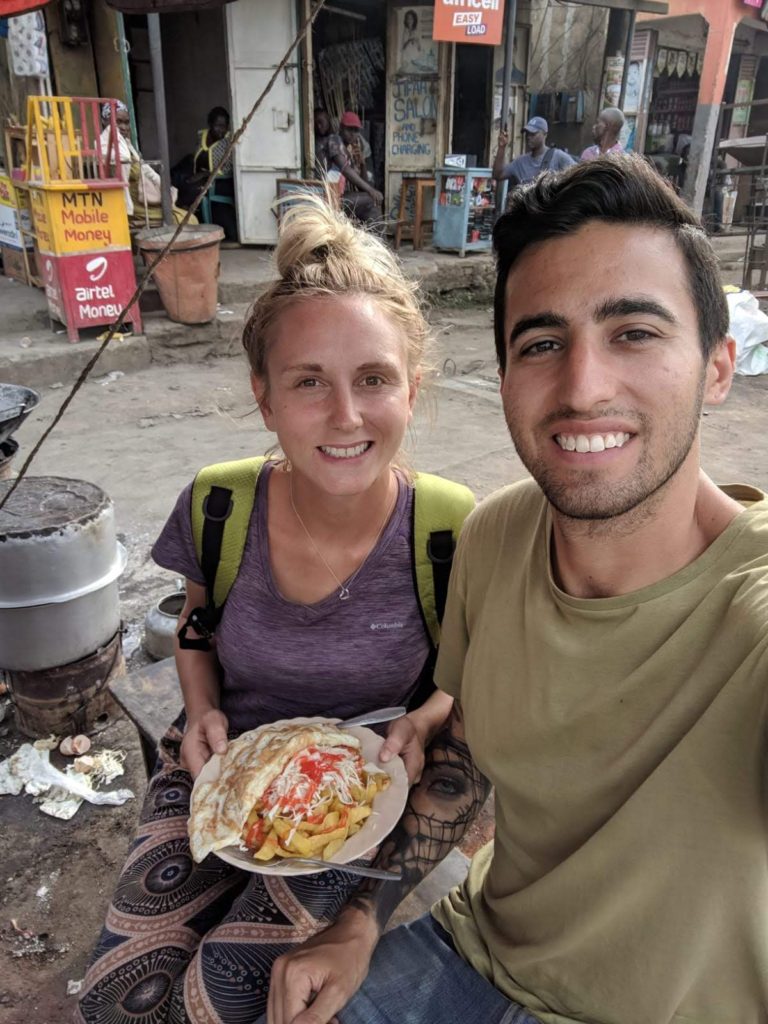
7: Eat Like a Local
This is probably my favourite part of travel. Eat like the locals. Don’t eat at ‘backpacker’ tourist restaurants and hostels — these places are often overpriced, so they’re definitely not budget-friendly. And the last thing you want is to drain your money on food.
I have watched many backpackers in Bali or Vietnam eating acai bowls, avocado on toast, and pizza every day, drinking espresso martinis every night and spending the same, if not more than they would at home.
Of course, you can occasionally splash out and visit restaurants that offer home comforts and novelty dishes, but my advice would be to eat and drink like a local as often as you can, if your diet allows it.
My favourite meals have always been street food. Now I’m not talking about the street food you’ll find at tourist markets, because that’s likely to be overpriced, and you won’t get such an authentic experience. In some destinations, particularly in Asia, you’ll find roadside carts selling local snacks and meals, and some will even have little plastic stools out front which are usually packed with locals. Eating at streetfood stalls like these in places like Bali and Vietnam, a meal can cost as little as $1. Go to the backpacker places and you’re looking $5 or more for a meal.
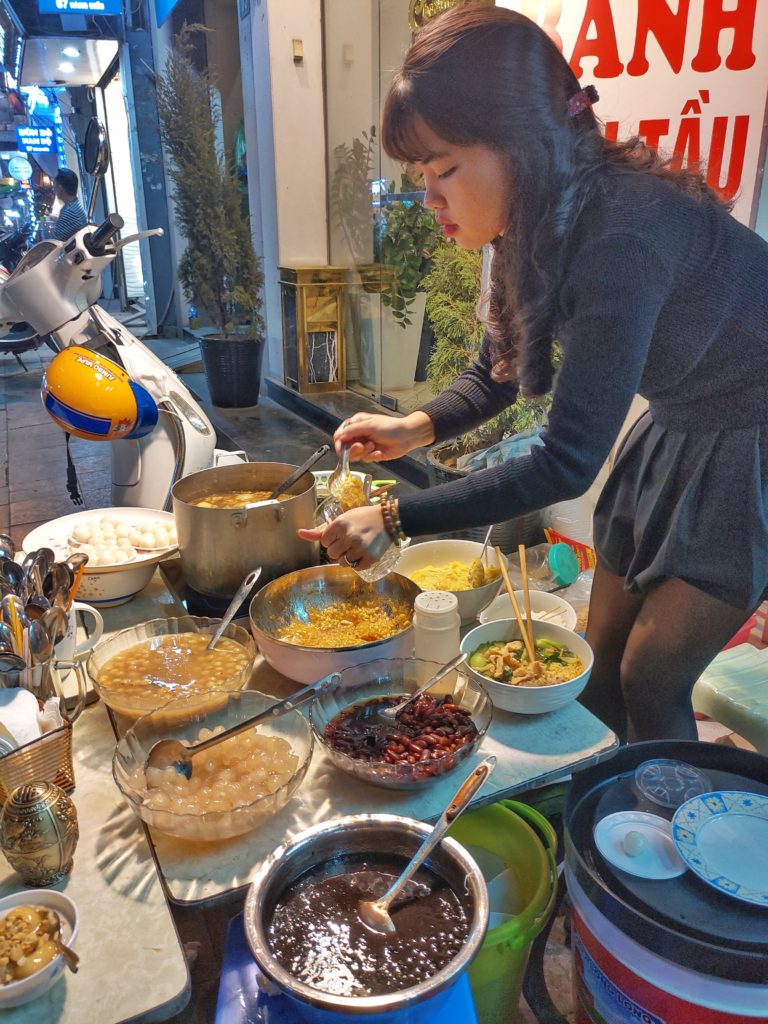
Trying the real local food is also one of the reasons I travel, it’s very rare that I’m disappointed. In fact, my favourite meals are usually the cheapest ones. And eating like a local gives you a chance to meet local people, and enjoy a more authentic travel experience. Plus you’ll be supporting local business.
8: Don’t Risk Losing Your Photos
Download and use Google Photos – this is a game-changer.
I have met several travellers who have lost their phone or camera or had them stolen, and as a result, lost all of their travel photos. I treasure my travel photos because they remind of all the amazing places I’ve been, the memories I’ve made, people I’ve met, and they inspire me to keep travelling. So the thought of losing them is too painful to think about.
Google Photos will automatically back up all of your photos on your phone to the cloud every time you connect to wifi. Magic. Even if you lose your phone, you will always have your photos saved to your account, and it’s free of course. You can also purchase an SD card adaptor to transfer photos straight to your phone/laptop. So you can even use Google Photos to store large DSLR files or drone photography. And you don’t need to worry about finding and packing an external hard drive for your travel photography — that’s weight and space in the backpack saved!


- 8 Tried & Tested Tips for Backpacking on a Budget - 04/02/2020