
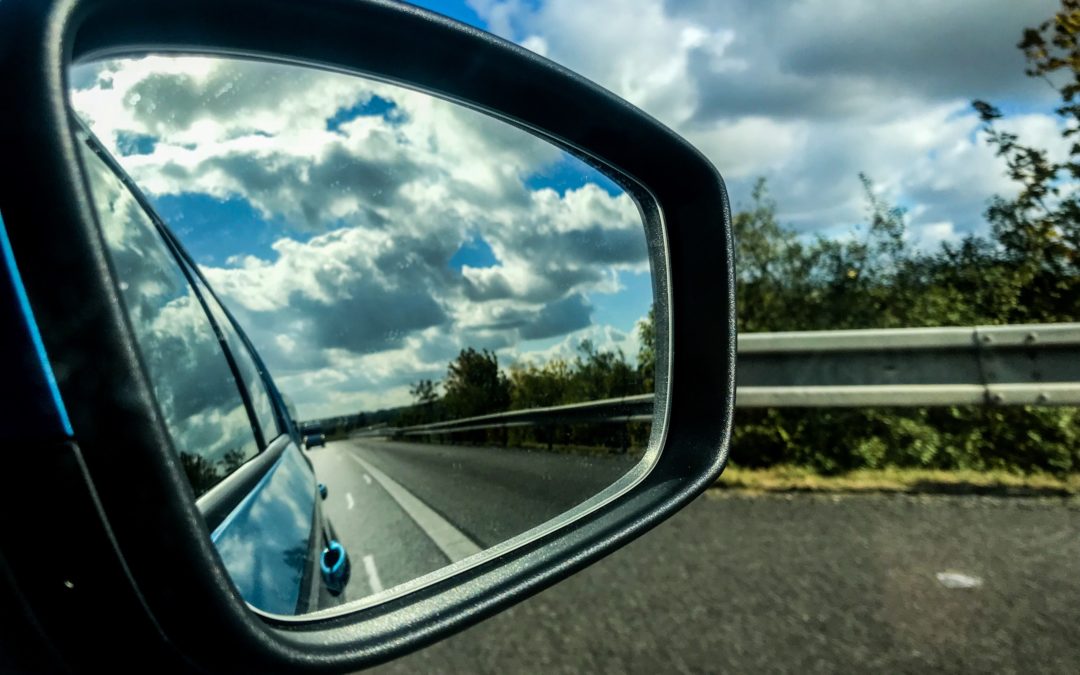
If you’re heading out on a road trip, and you want to capture some of your journey, whether for a travel vlog, to show friends and family or just for fun, you NEED to take a GoPro with you.
Thanks to their size and the different available mounts, you can mount them almost anywhere in or on your car. So you can get unique angles of the journey, the car, the driver and the passengers. You’ll be set up for your very own Top Gear special.
Before you hit the road with your GoPro though, here are 13 GoPro driving tips to help you capture the best possible driving footage. Or if you were hoping to use your GoPro more as a safety measure, like a dash cam, we’ve got tips for that too!
The Best GoPro For Road Trips
So if you want to capture some quality footage of your road trip, you’ll need to find the best GoPro for the job.
GoPros have come a long way in recent years, which means there’s quite a few big differences between the different models.
It’s easy to get drawn in by cameras that offer the highest resolution, but for road trip driving footage, you also need to consider frame rate.
If you want to get clear shots of the road, the scenery and the moving car, you’ll need a GoPro that can shoot in a high resolution at a high frame rate. And if you have to sacrifice one or the other, sacrifice a bit of resolution.
For example, if you’ve got the option of 4K at 10fps, or 2.7k at 60fps, in this case you want to prioritize frame rate.
When you’re on the road you’re going to be moving pretty fast (hopefully, unless traffic slows you down). And for your GoPro footage to look smooth and clear, you’ll need that higher frame rate.
GoPro Hero 7 Black – The Ultimate Road Trip Camera
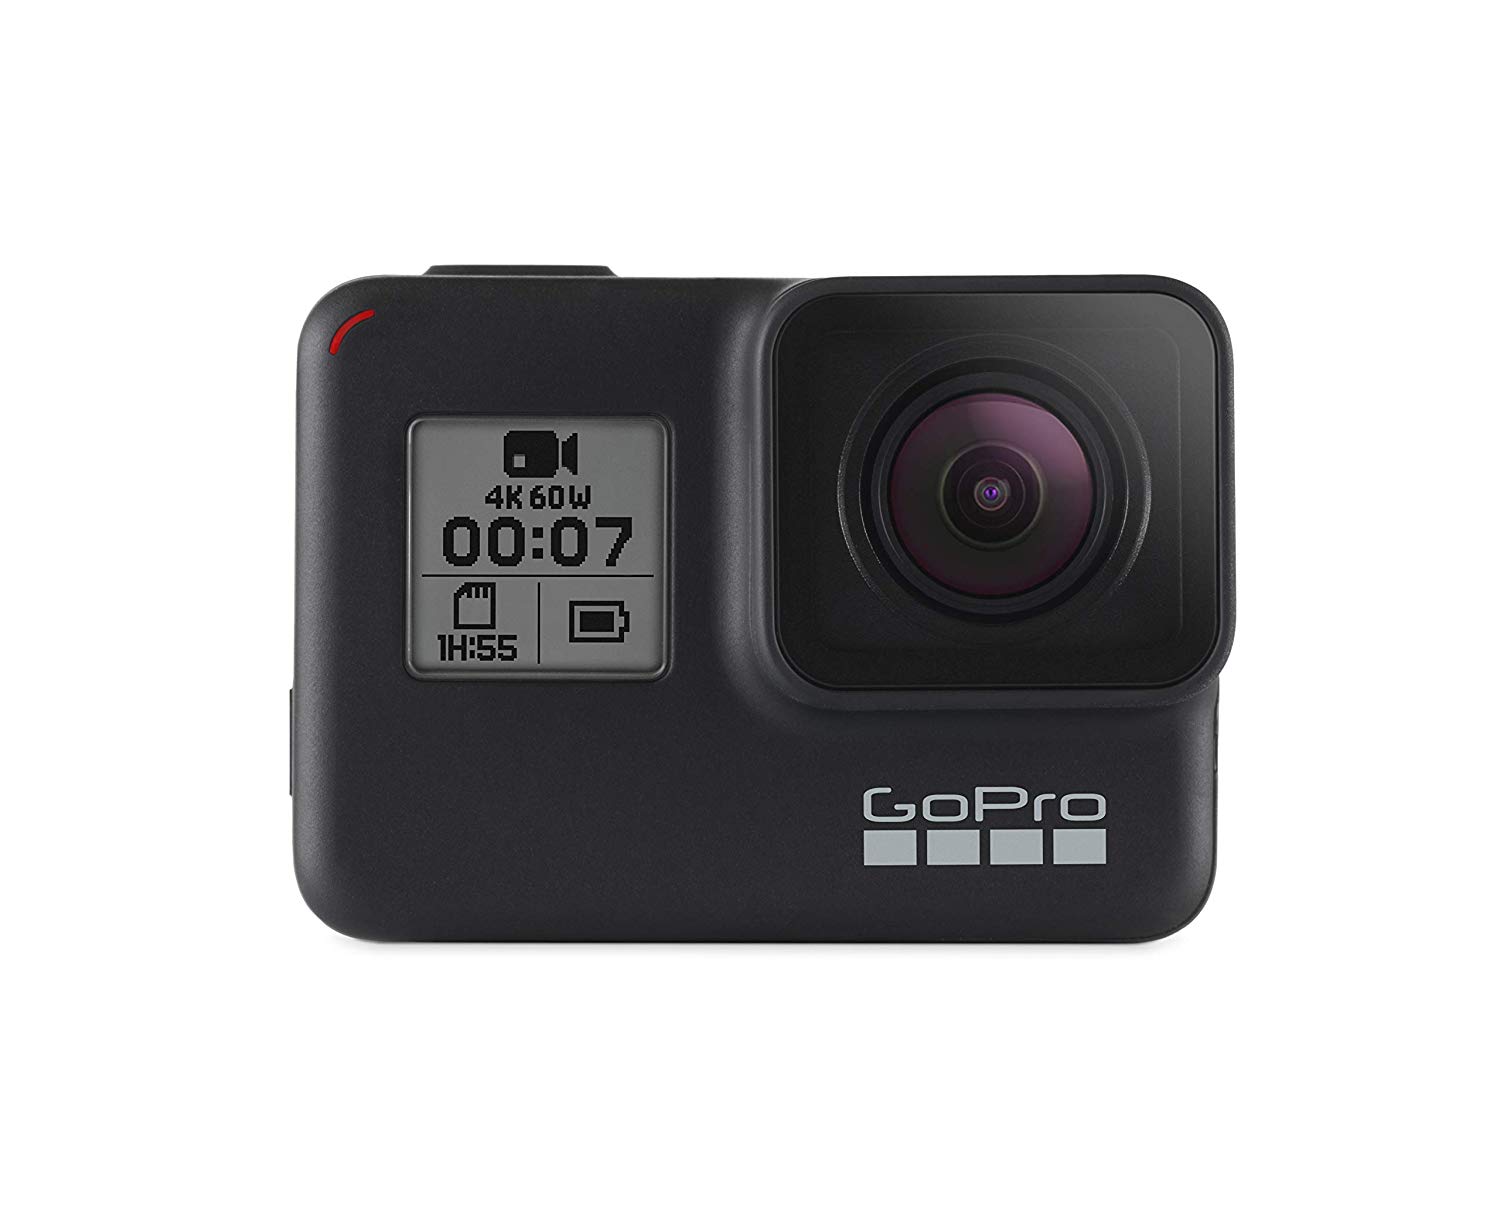
If you want the very best GoPro model to take on your road trip, it has to be the GoPro Hero 7 Black. This new release is a huge improvement on the other GoPros, and as well as being great fun to use, it’s going to create professional looking, top quality road trip videos.
In terms of 4K, it can shoot at 60fps, same as the Hero 6, so there’s no real change there. But if you wanted a really high frame rate, you can shoot in 2.7K at 120fps. You probably wouldn’t opt for 120fps for standard footage, because of motion blur, but this is great if you want to slow down your footage later.
The Hero 7 also has the best stabilisation we’ve seen on a GoPro yet. Hyper Smooth will record, well, hyper smooth footage, even on the bumpiest of roads. So you can even go off-roading, and still get perfect footage.
The stabilisation even works whilst you’re live streaming. That’s right, you can live stream your road trip videos right to Facebook or Instagram.
The voice control is also a great feature for those on a solo road trip, as you’ll be able to start and stop your camera recording, and even change settings or take a picture, all without taking your hands off the wheel.
The waterproof and shockproof nature of the Hero 7 means that you really can mount it anywhere on the car, even on the exterior, in the rain.
GoPro Hero 6 – The Second Best GoPro For Road Trips
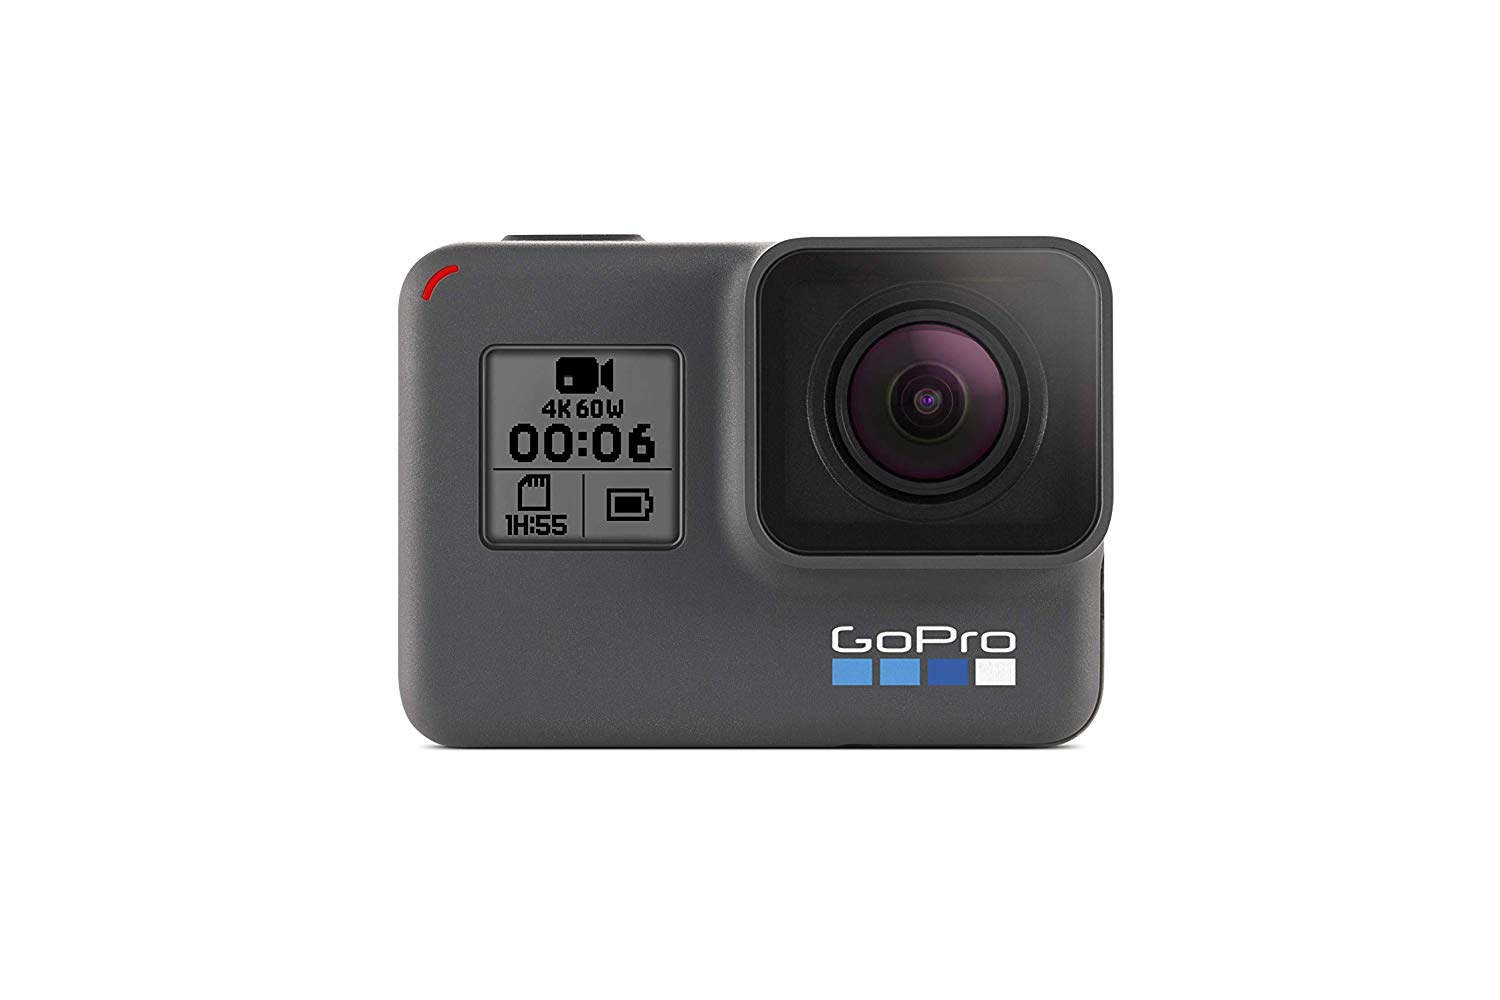
The Hero 6 takes it one step further, shooting in 60fps in 4K, which gives you the best of both worlds. It also has some good image stabilisation, which make the bumps in the road less of an issue.
The Best Budget GoPros For Road Trips: Hero 4 Black, Hero 5 and Hero 5 Session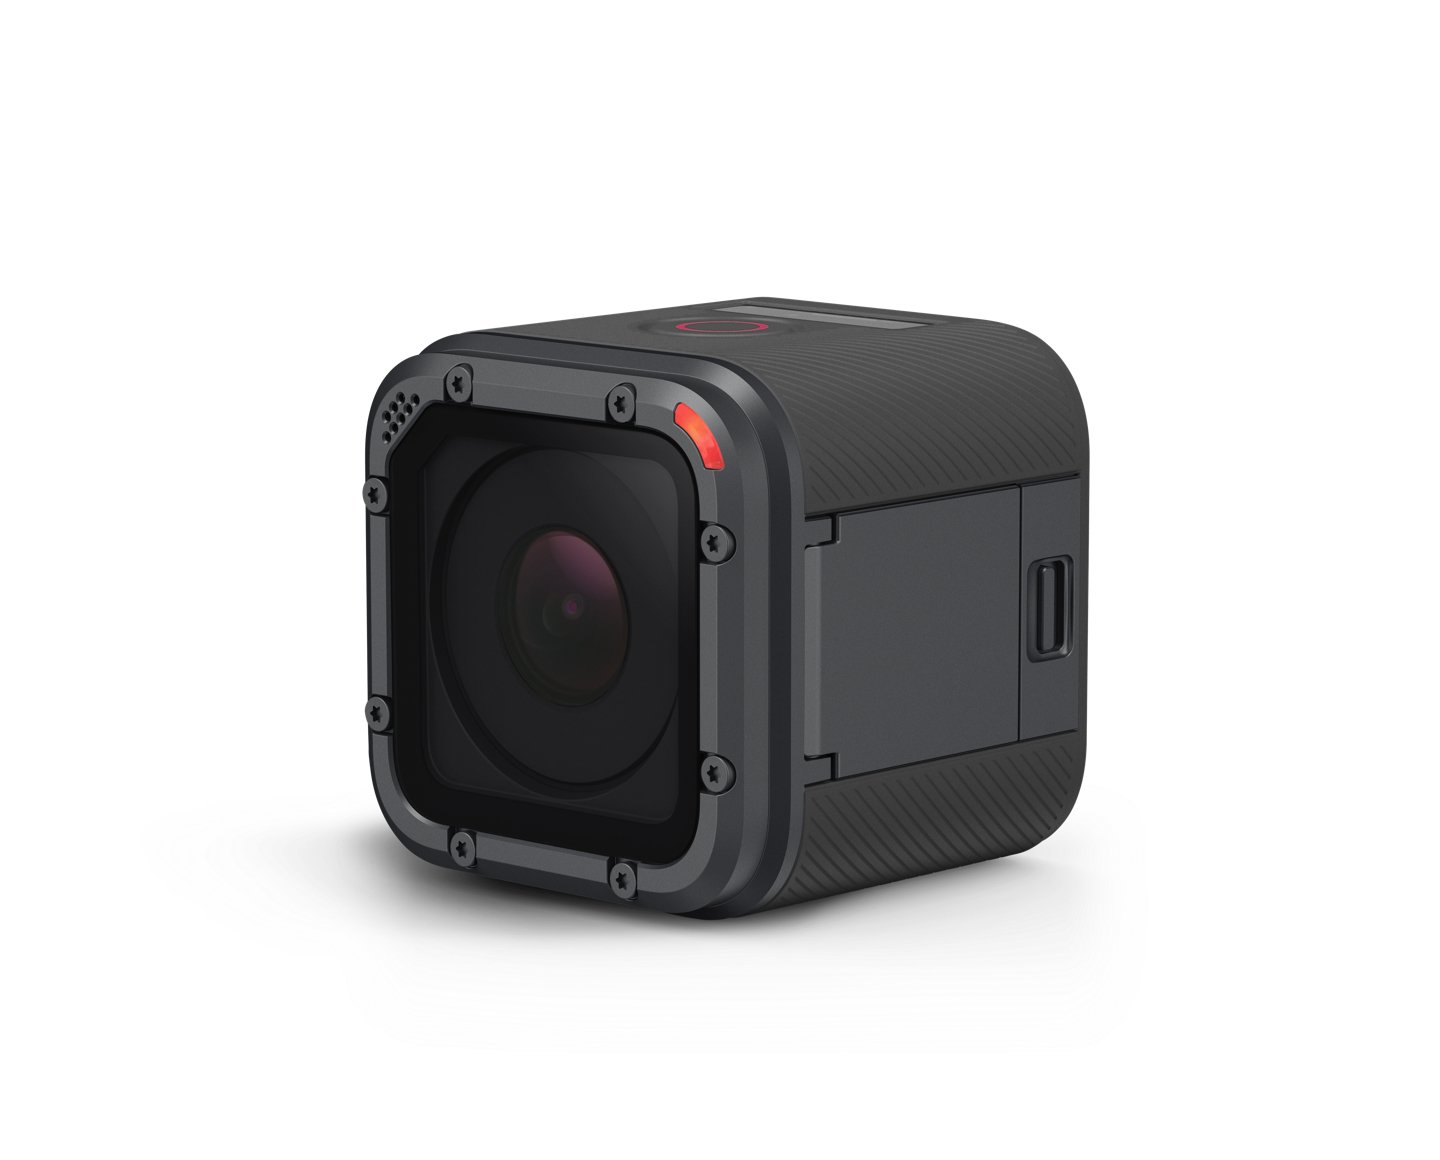
I’ve grouped these GoPro cameras together because they can all film with a frame rate of 60fps at 1440p, so they’re all going to give you more than adequate footage.
These models are also much more affordable than the latest GoPro, and whilst the footage won’t be as stable, you can still capture some great footage and artistic shots.
9 GoPro Road Trip Tips
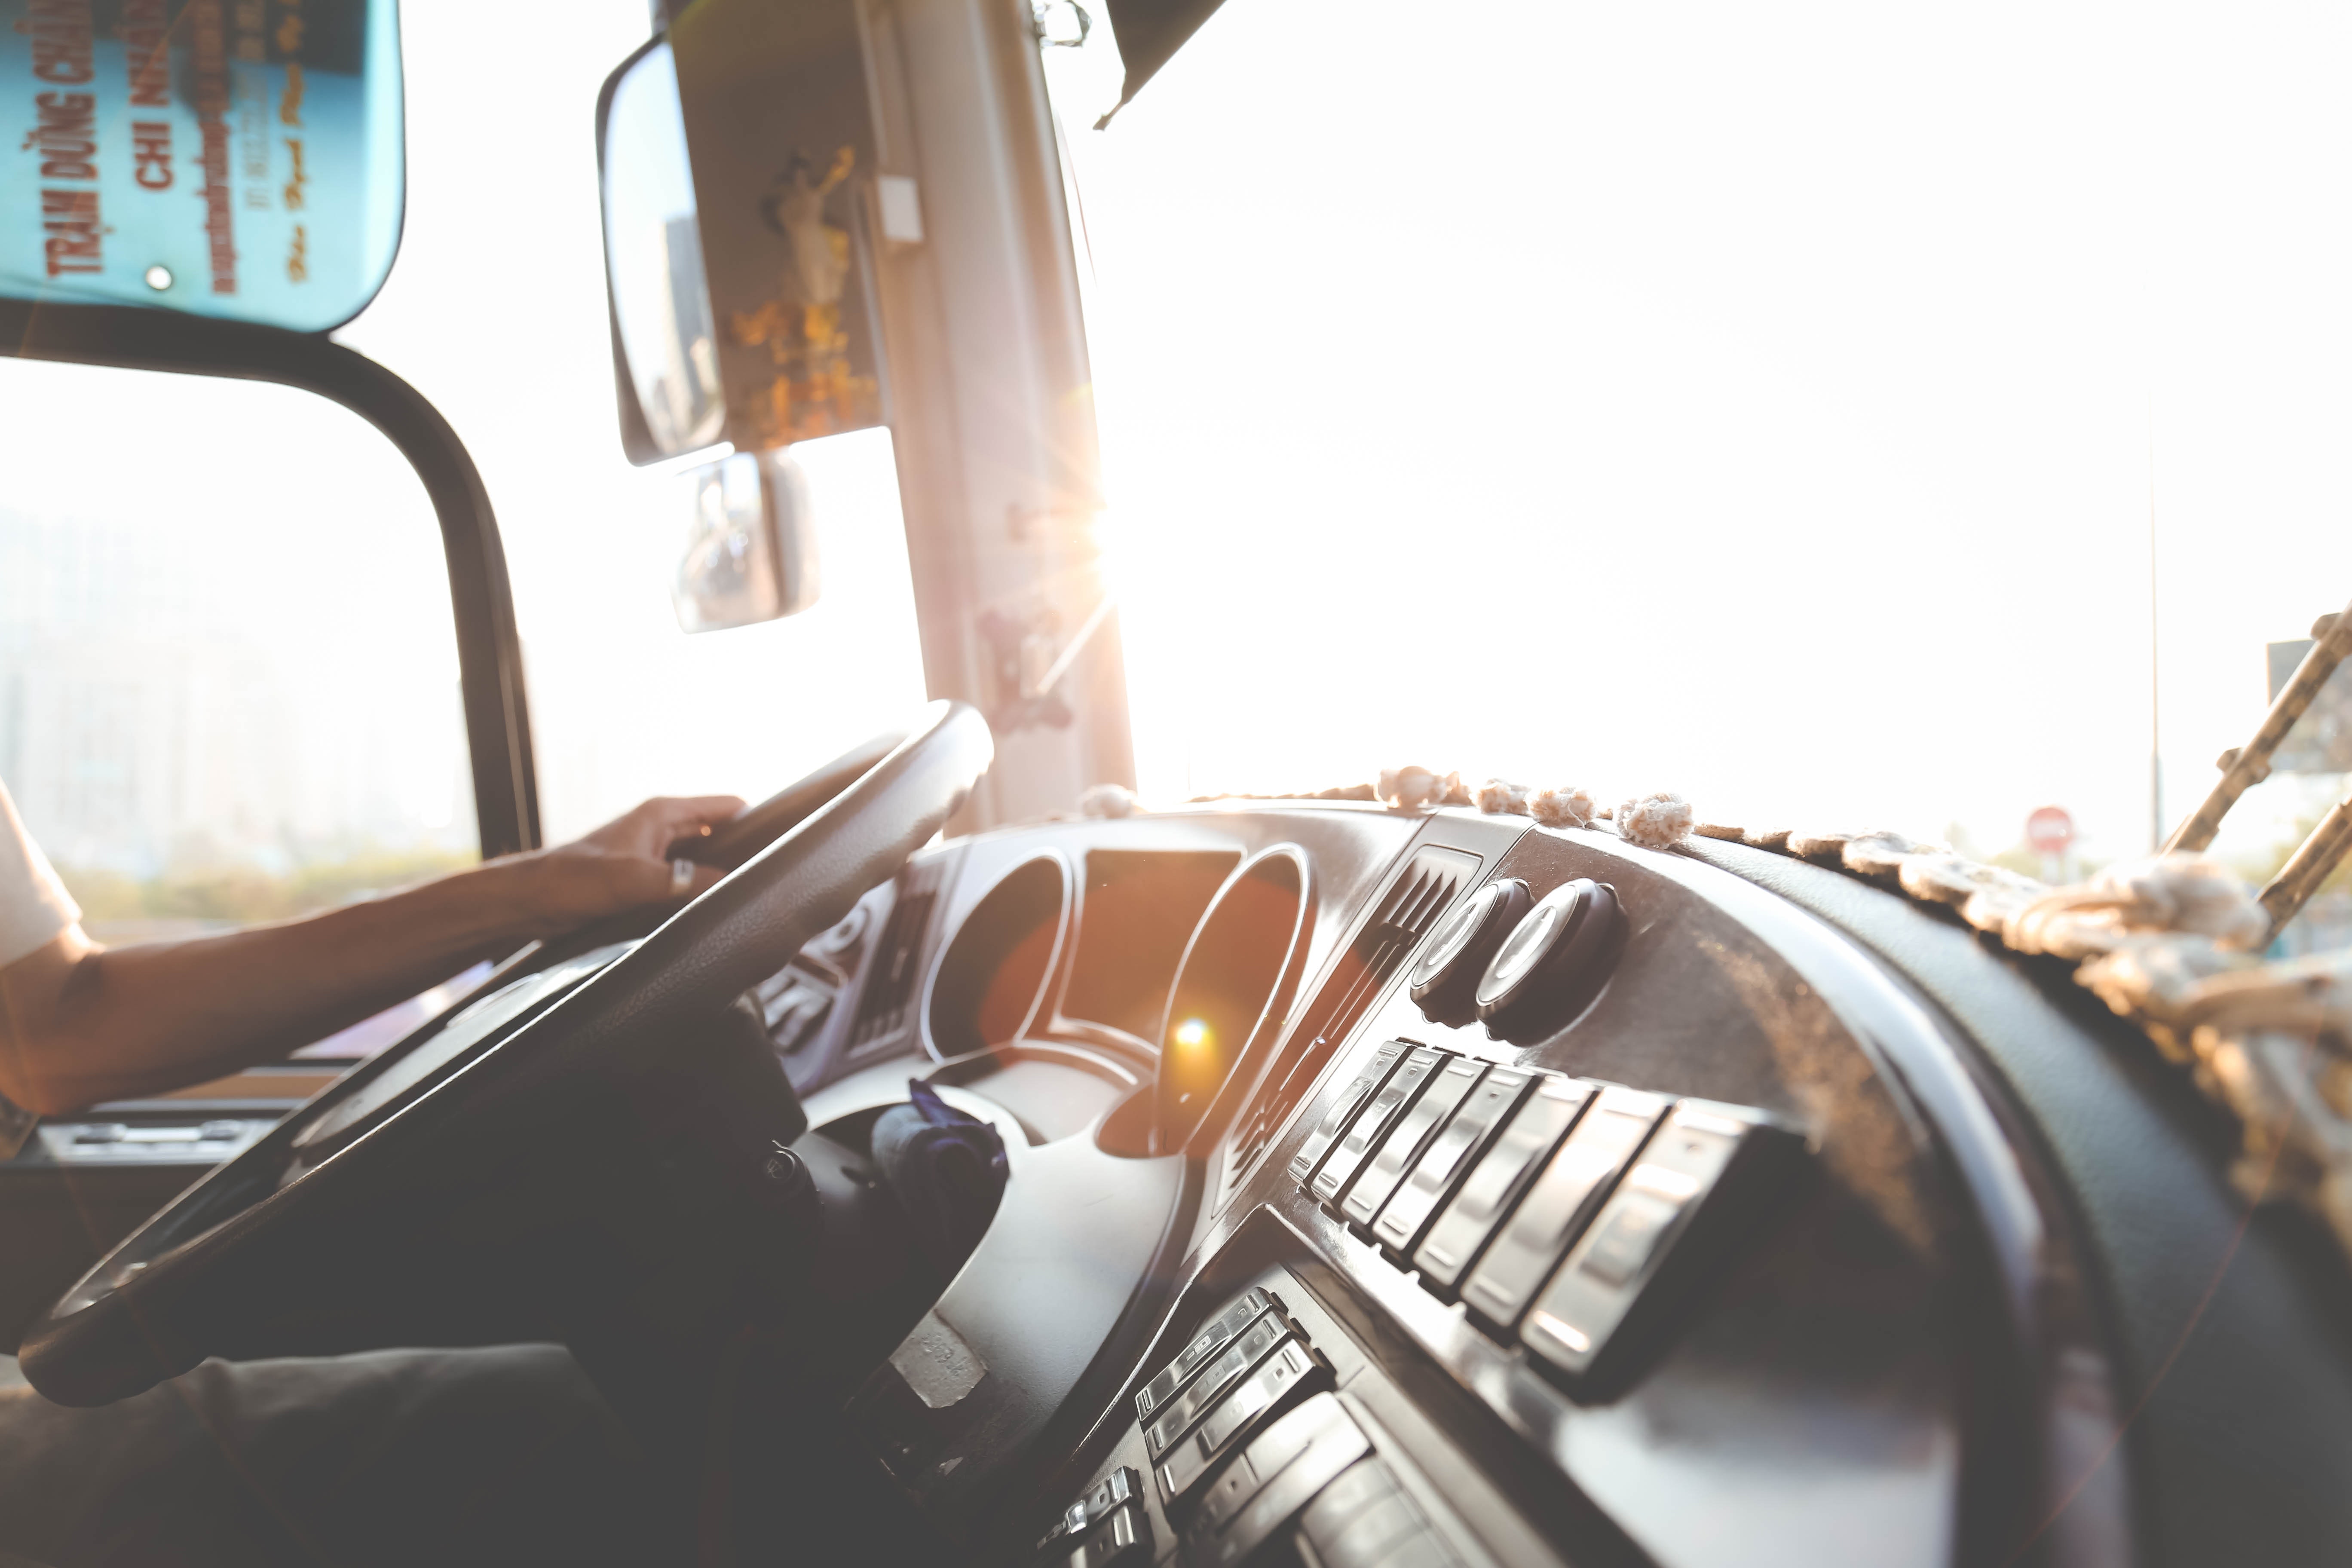
1. Mix up your angles and mounting positions
If you’re hoping to create an interesting film or vlog from your road trip, the last thing you want to do is just stick your GoPro on the dashboard and leave it there for your whole trip. No one’s going to watch hours of the same thing.
With a few different mounting accessories, you can mount your GoPro in some really creative places. There are different angles you can get within the car, as well as outside the car.
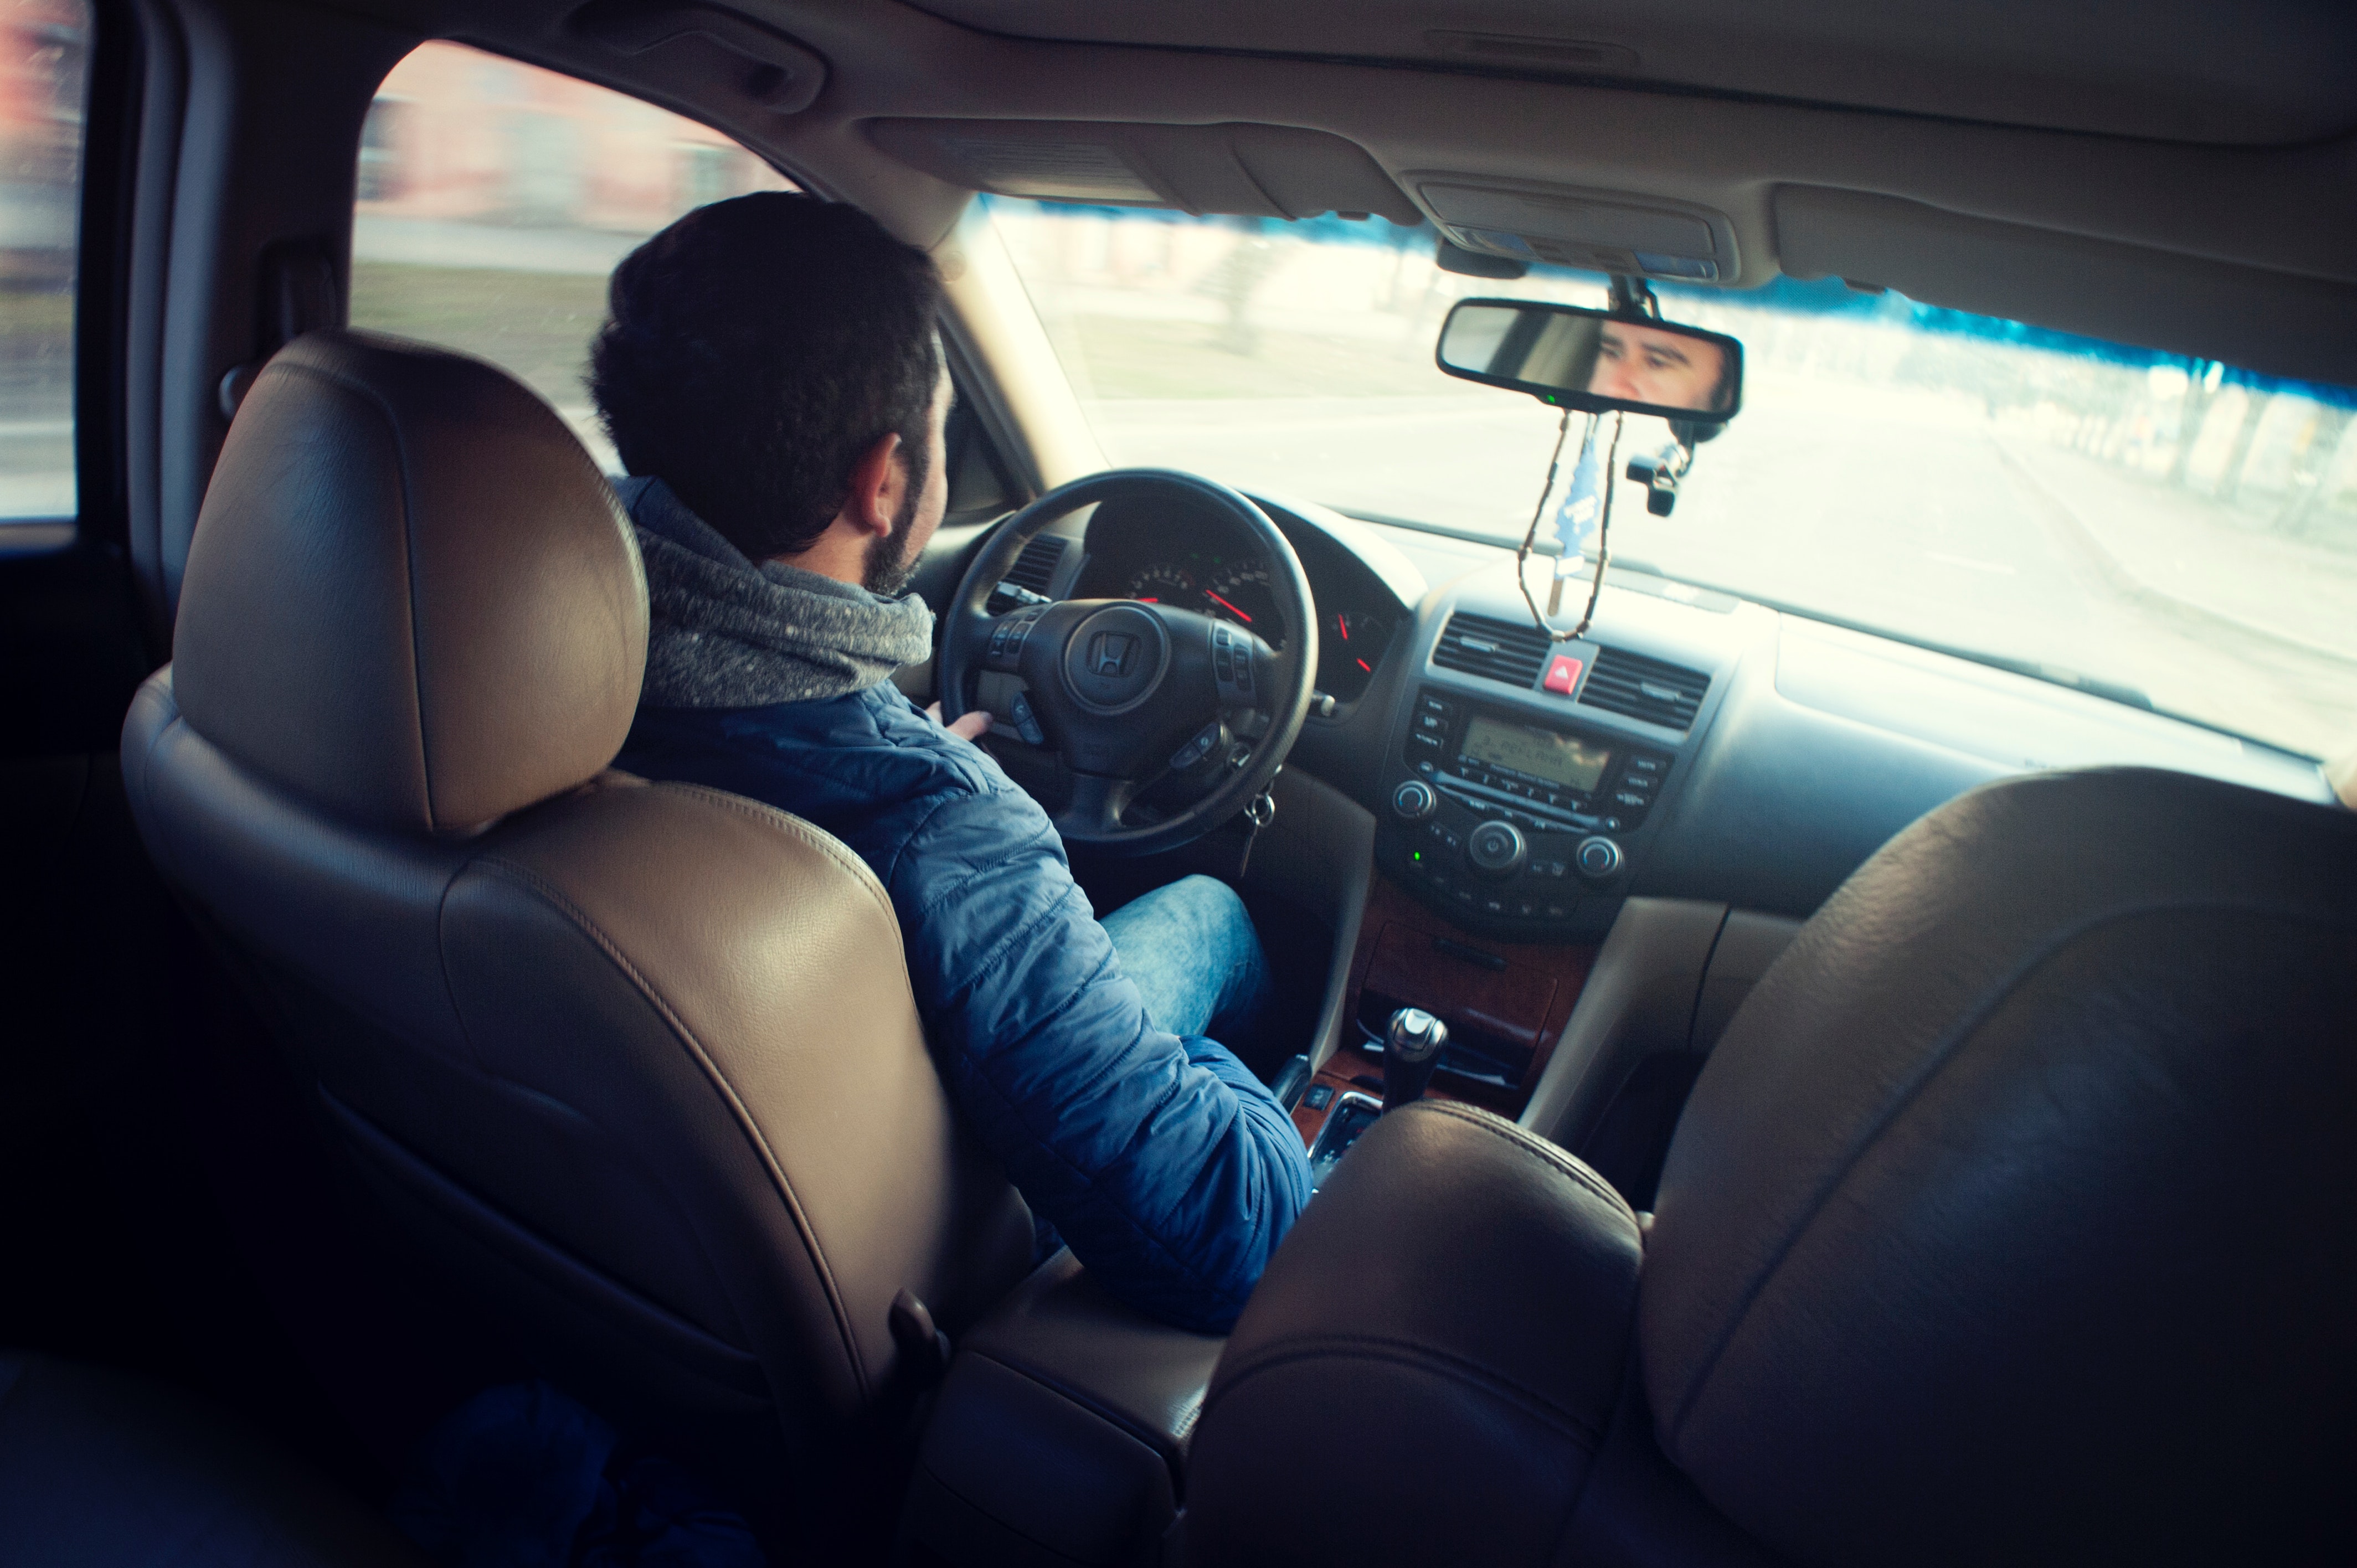
Get dashboard shots, as well as ‘from the back’ shots, ‘of the driver’ shots, and shots of the wheels rolling.
All these different angles are going to make your video seem much less amateur. You’ll look like you’re working with a whole camera crew!
2. Get some candid footage
Road tripping isn’t just about the scenery and the drive, it’s about the journey, the laughs you have on the way to your destination.
Filming just the scenery and the road is cool for a while, but after a while it’s going to make your end video pretty repetitive. So try to film some in-car footage, of the road trip dynamic. Get shots of you and your fellow road trip companions laughing, navigating, talking – it’s these shots that are going to break up your footage and give your road trip video more substance.
And don’t forget to include some shots of you arriving at, and enjoying your destination.
3. Shoot in loop mode when using your GoPro as a dash cam
If you’re more interested in using your GoPro for safety reasons, rather than to get creative, you can also it as a dash cam.
Most GoPros have loop recording modes, which basically just let your GoPro film non-stop without it using up your memory. How does it work? Basically it films and saves footage from a set amount of tmie, which could be anywhere from 5 minutes to two hours.
Let’s say you set it to 5 minutes, your GoPro would split that five minutes into chapters, so every 1.5 minutes or so would be one chapter. So when your GoPro has recorded 6.5 minutes, it will delete the first 1.5 minutes.
This way, you can continuously record your whole journey, and worst case scenario, if you’re involved in or witness an accident, you can stop your camera recording and look back over the saved footage. And because it will only have saved the latest footage, you won’t have to sift through hours of video to find what you’re looking for.
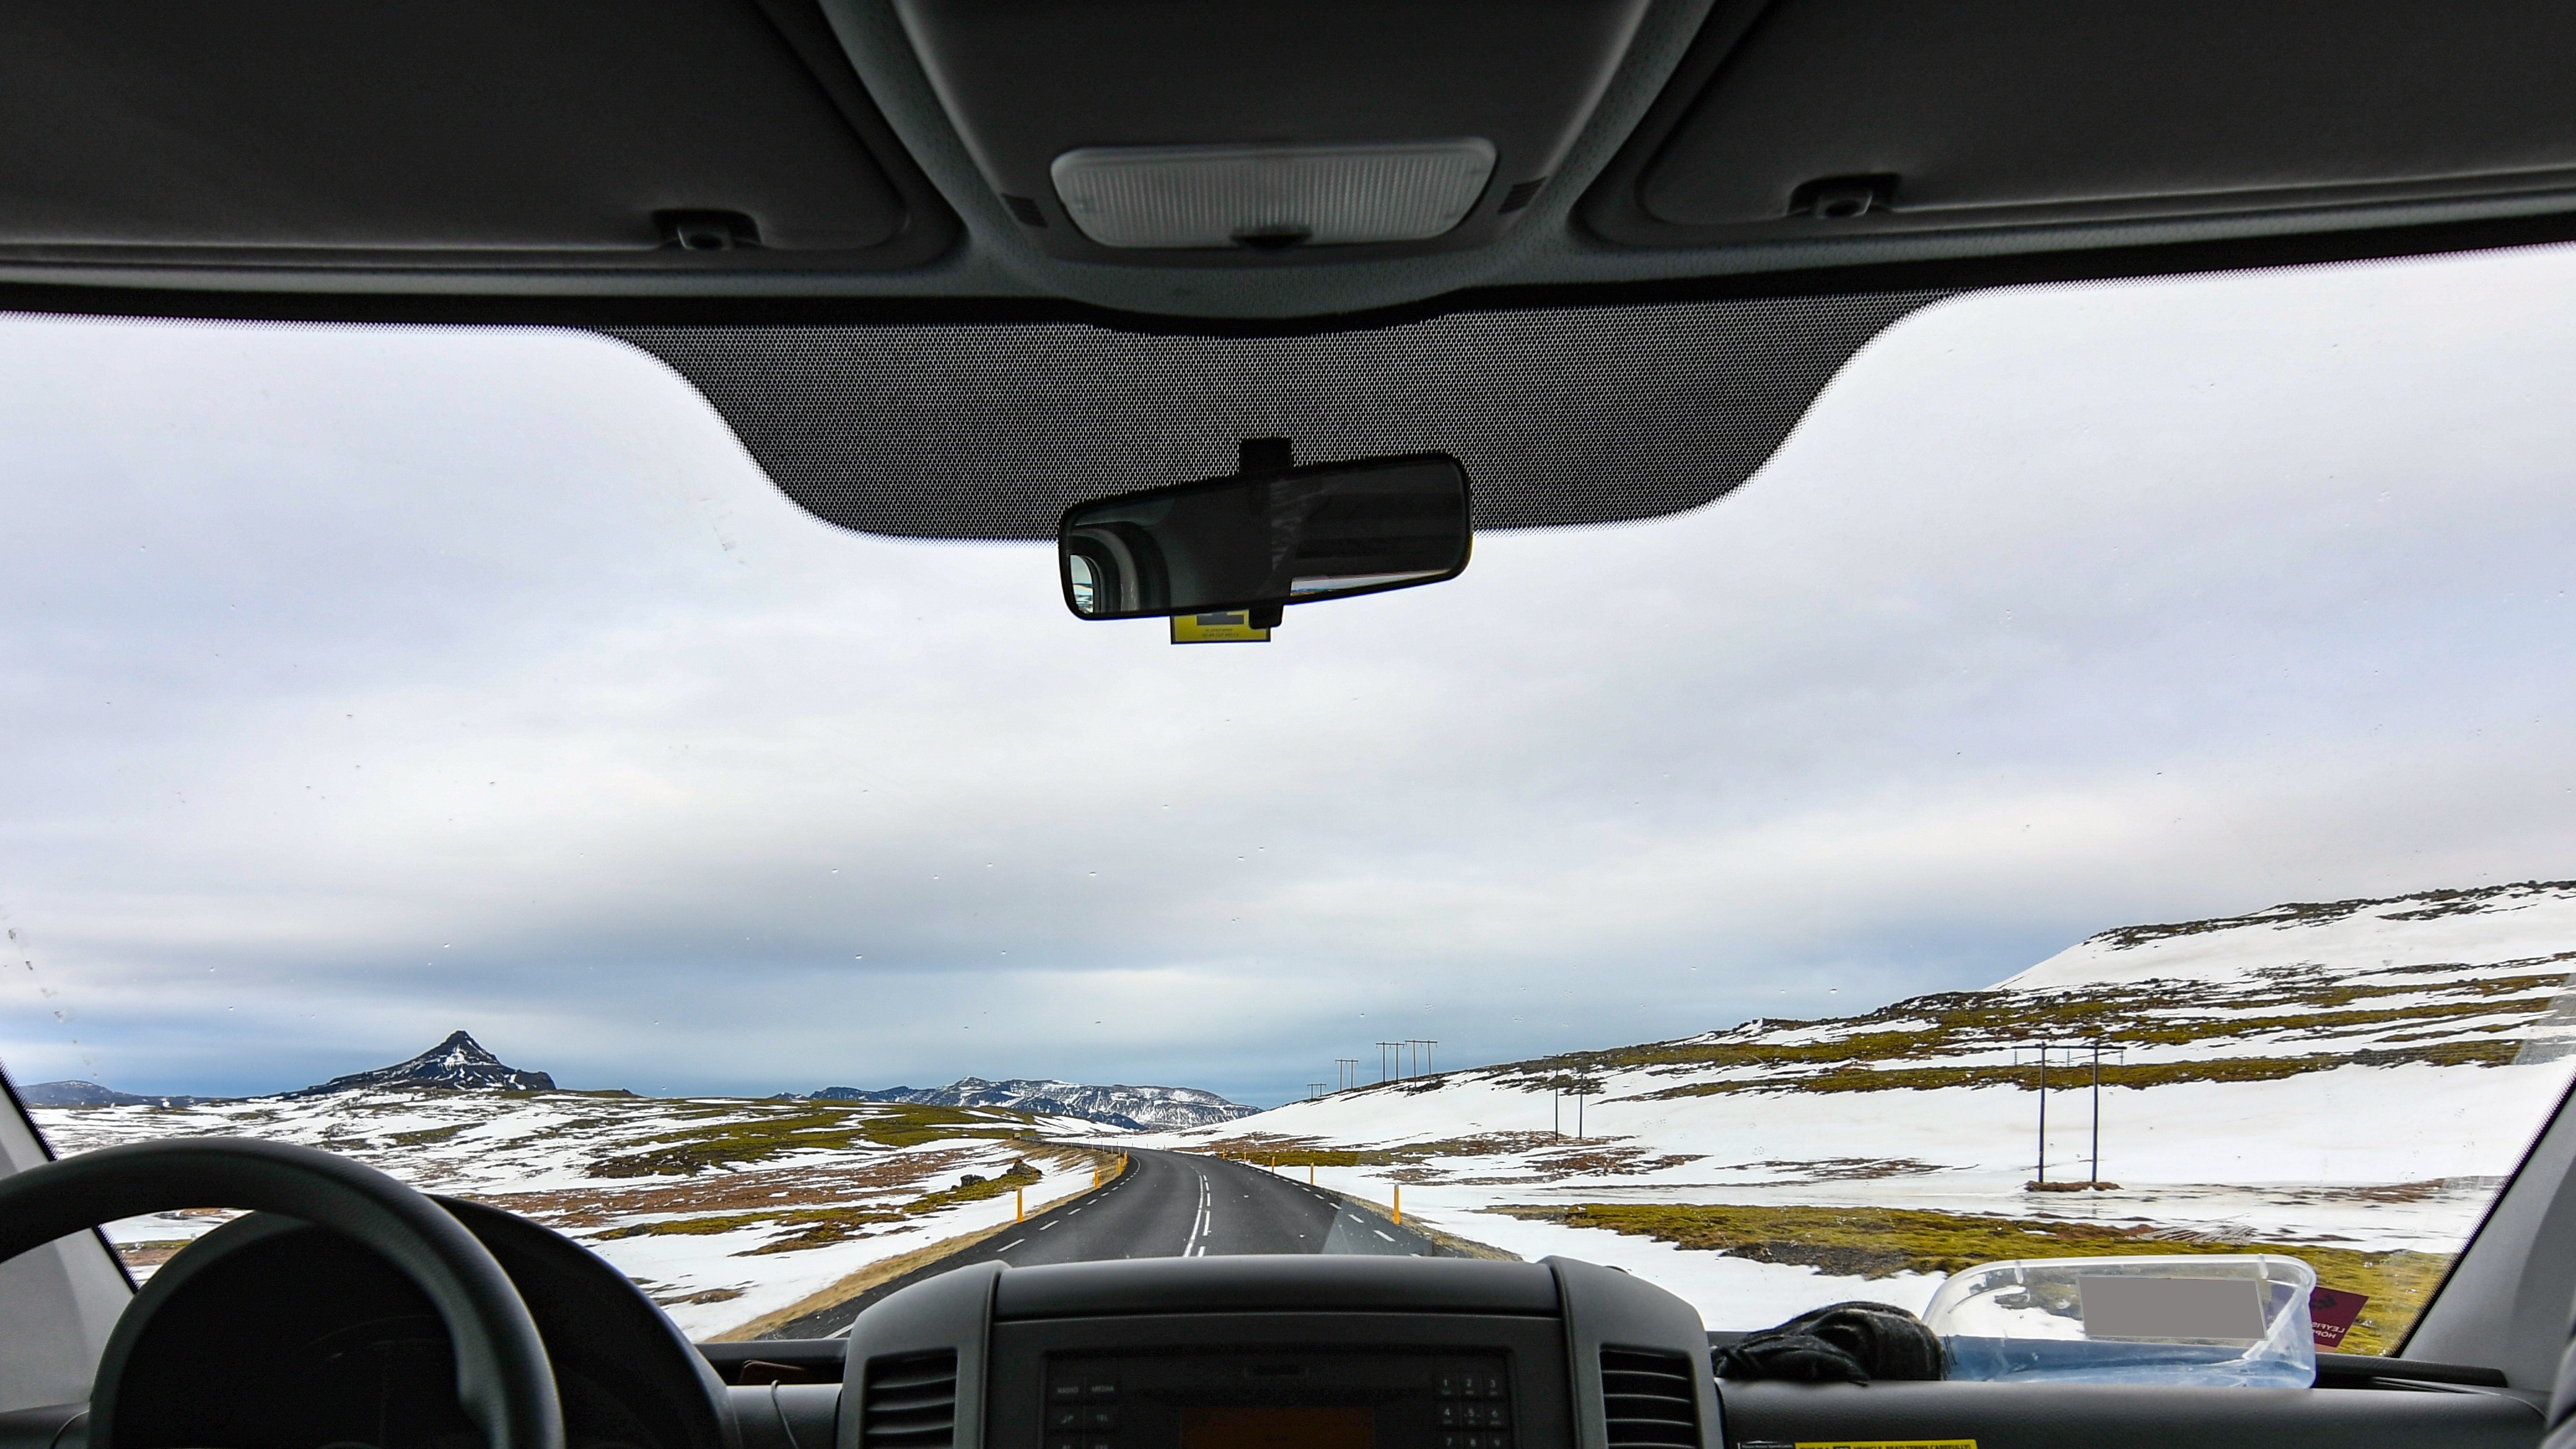
4. Create a time lapse of your journey
Filming your whole drive in real time can create hours of footage that quite frankly, is too boring to sit through and watch.
Creating a drive lapse (a time lapse of your drive) will create a more artistic video of your drive, a snippet if you like. And this snippet is going to take up a lot less space on your memory card than the full extended version.
Choose somewhere to mount your GoPro (the dashboard is the go-to place for drive lapses) and choose an interval setting.
If you want a time lapse of a large portion of your journey, choose a slower interval setting, otherwise you’ll end up with a drive lapse that’s still too long to sit through.
If you plan on driving through dusk or dawn, this is a great to create a drive lapse, as you’ll see the changing light.
5. Find a good balance between resolution and frame rate
Filming top quality road trip is about finding the perfect balance between resolution and frame rate. Lots of people make the mistake of just going for the highest resolution, and not even bothering to look at frame rate. But frame rate is what’s going to make your footage smooth and stable.
If your GoPro has the option of choosing 60fps, go for this in the highest resolution. The newer models will have 60fps at 4K, but with the older models, you’ll need to go for 1080p, 1440p, or 2.7k at 60fps. So as a general rule of thumb, go for the highest frame rate with the highest resolution.
6. Pack extra batteries and memory cards
If you’re planning on driving for more than a few hours, you’re going to need to take a few extra supplies with you. GoPros don’t have the best batteries, so you’ve probably only got up to 4 hours of battery life on one battery. Pack extra batteries and a car charger so that if your GoPro dies, you can charge it right back up again. A car charger or a battery back can also allow you to film whilst charging.
Just as important as battery is memory, storage space. If you haven’t got enough memory on your memory card to film any more, your GoPro may as well be dead. So pack extra memory cards (don’t worry, you can get really cheap ones), and you’ll have all the storage you could need for your videos.
Using multiple memory cards is also a great way to organise your footage, especially if you’re going on a multi-day trip. Sifting through footage to find a certain clip can be a nightmare, so why not allocate a different memory card to each day or so of your travels?
7. Use auto for most settings
When you’re on the road, the light and your surroundings are constantly changing, so rather than having your white balance, exposure and other settings set to manual, just keep them on auto for the majority of your trip.
You don’t want to be playing around with the settings every ten minutes, so leave it on auto and your GoPro will adjust automatically to your surroundings.
8. Get a variety of different accessories
If you want to make the best possible road trip film, you’ll need a few different accessories. Different mounts mean you can mount your GoPro on different parts of your car, and get really creative with your angles.
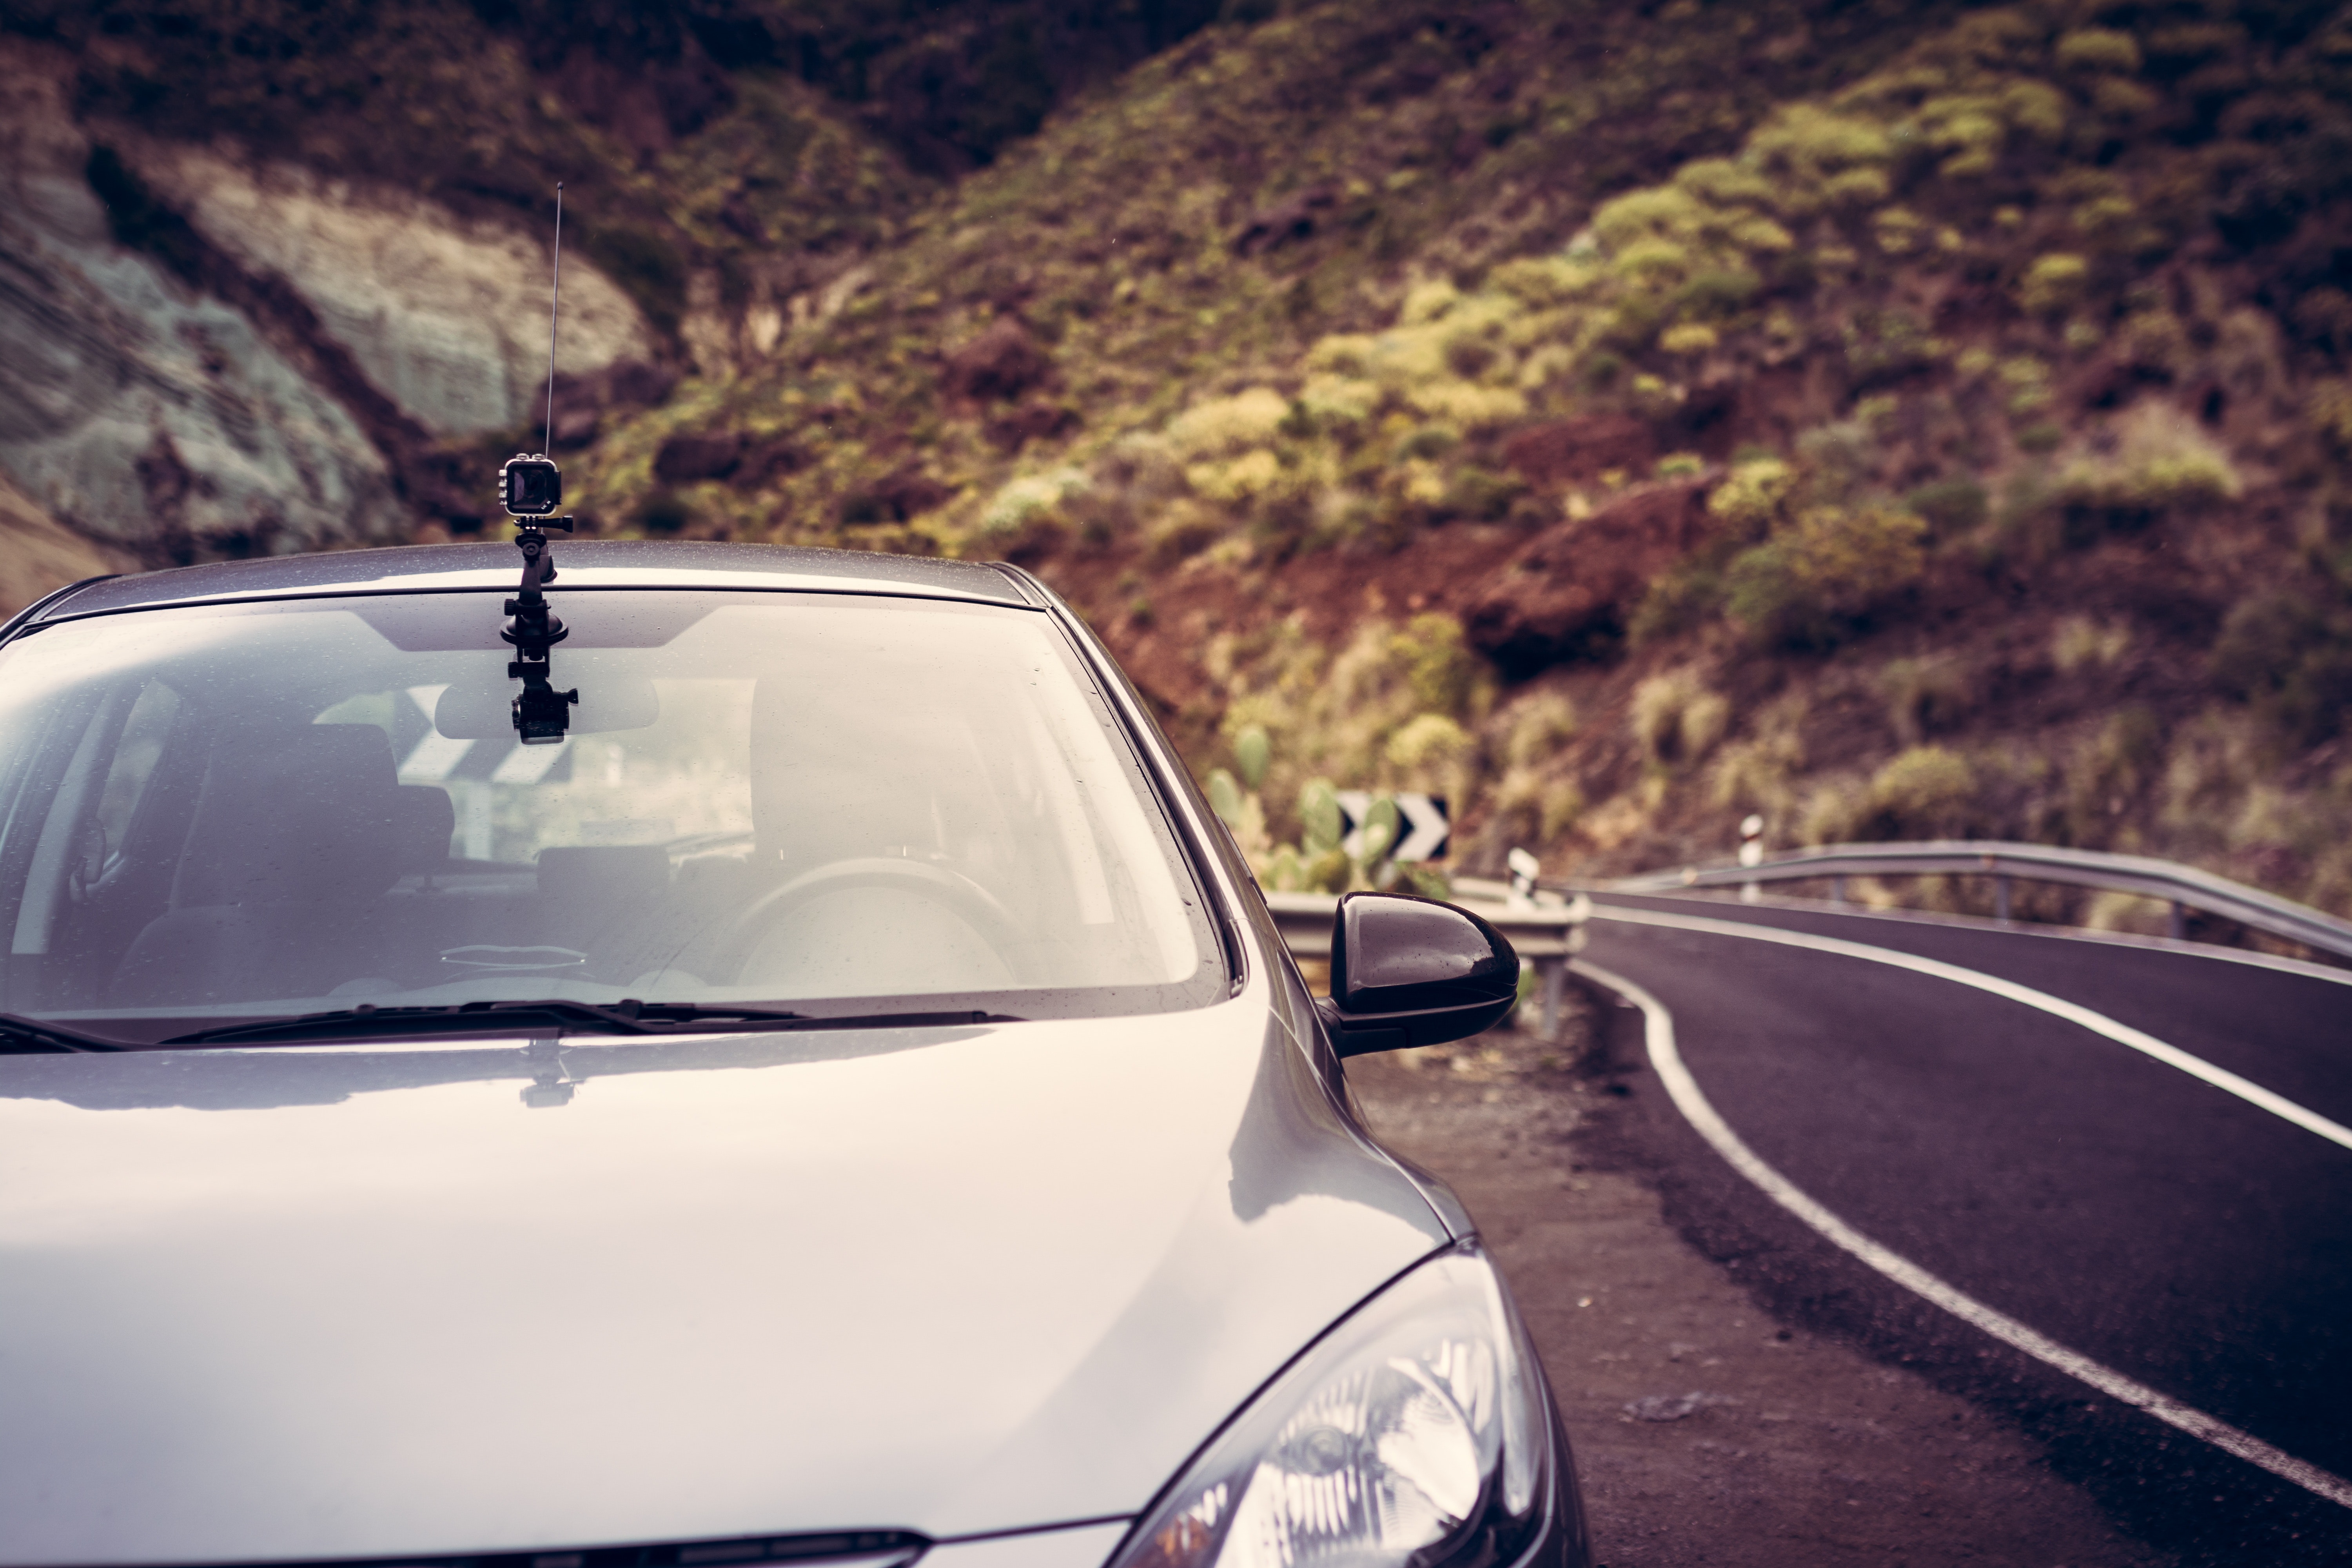
Below are some of the best GoPro accessories to take on your road trip:
- GoPro extendable poleWith the extendable pole you’ll be able to get shots of the moving car from outside the car. All you have to do is get one of your passengers to stick it out the window – just make sure you’re on a fairly deserted road when you use this one!
- Dual cup suction mount
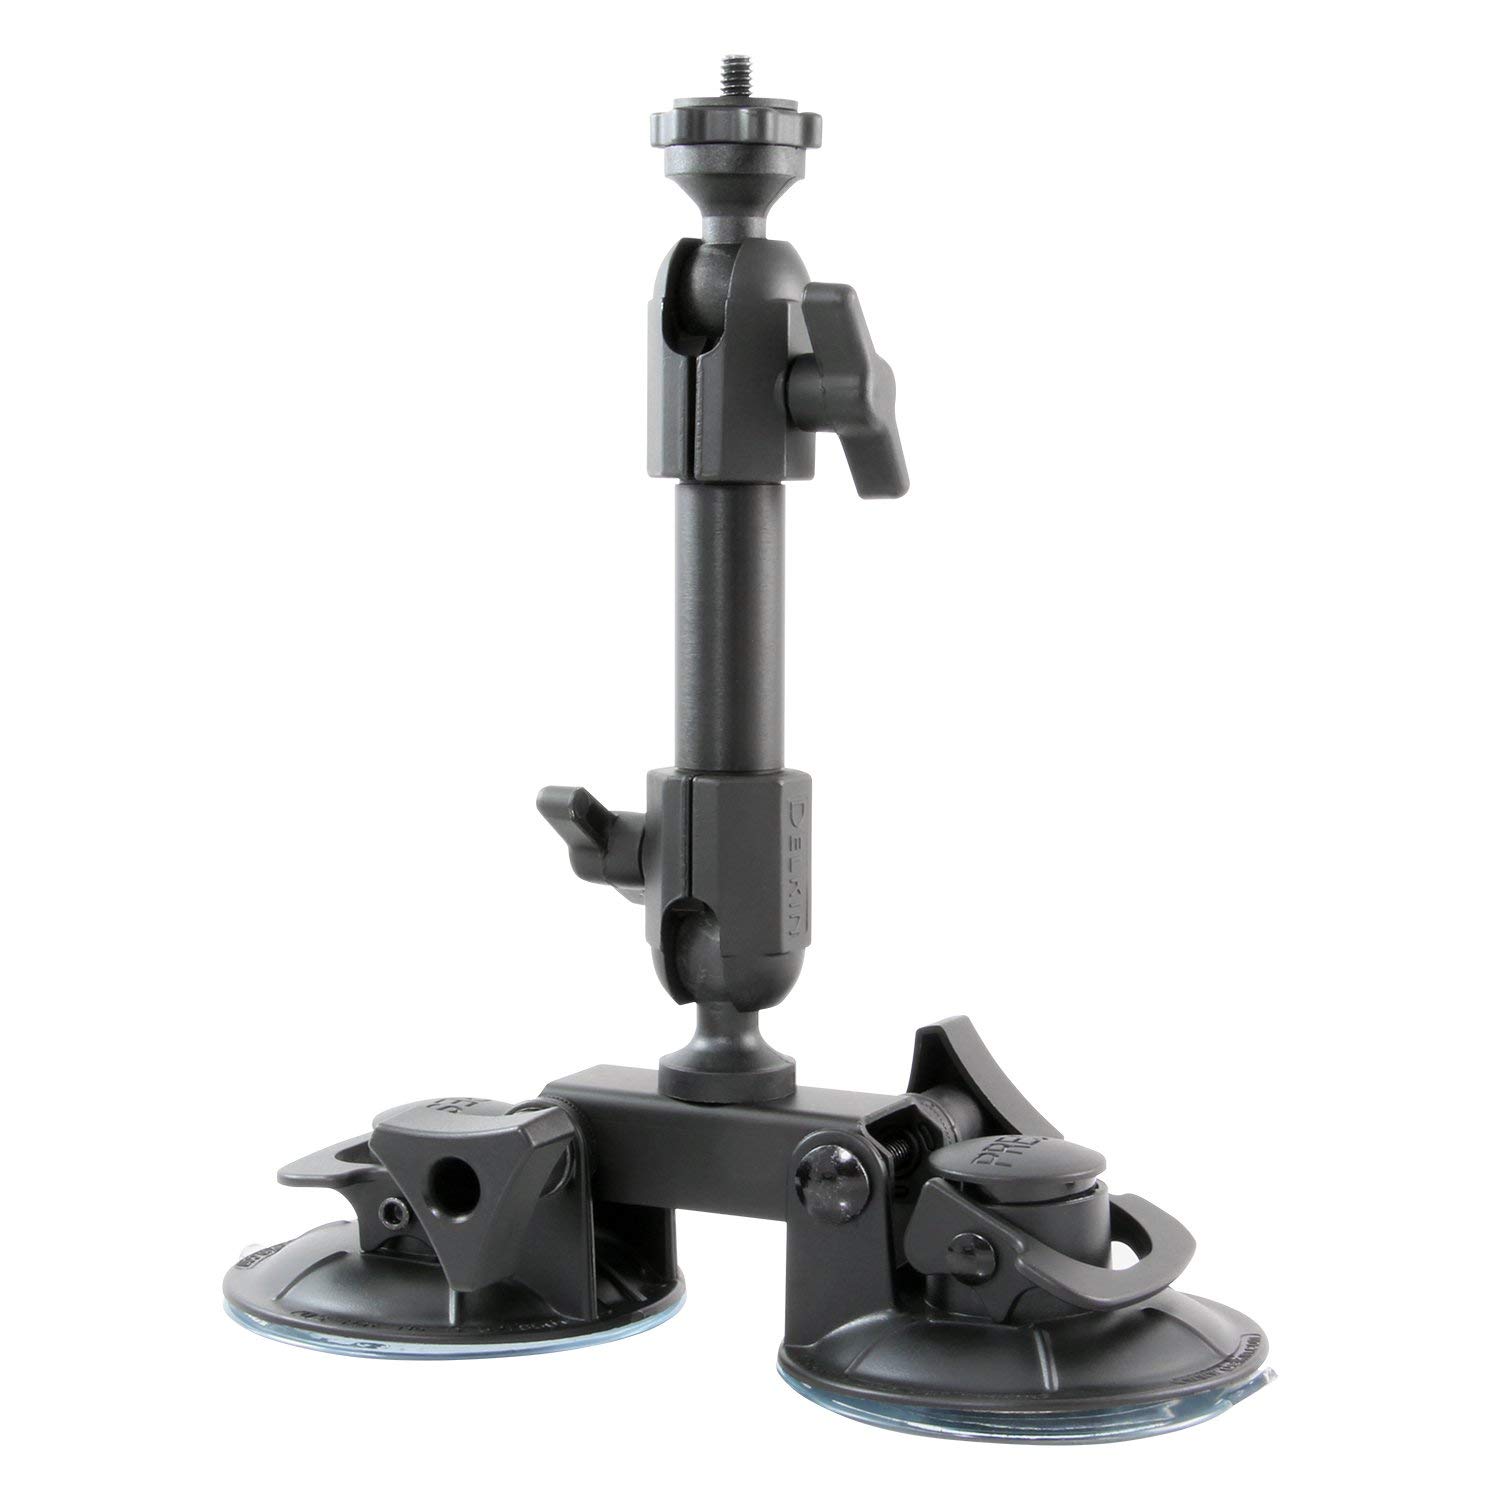
You’ve probably seen the suction cup mount around, but a dual suction cup gives you extra grip and more mounting possibilities. For example you can stick this mount on your car’s exterior, and you don’t need to worry about it coming loose because this thing is super strong.
- GoPro auto chargerThis is a car charger for your GoPro, so you can charge it using your car’s cigarette lighter. This is a must-have for anyone going on a long-ass road trip.
9. Play around with the shutter speed
Generally, a shorter shutter speed, or whatever the default on your GoPro is is great for ordinary clips.
But a longer shutter speed will blur moving objects in your time lapses, which can give them a really artistic feel, especially when shooting a time lapse at night. This is how you can get oncoming cars to look like light trails.
10. Use different clips and effects in your final film
When it comes to putting all your clips together and creating a final road trip film, make sure you keep it interesting by using different clips, angles and effects.
The chances are you’re creating this film or vlog for an audience, so you want to make sure it’s not going to send anyone to sleep.
Edit your clips: slow some down, speed some up, and make sure they all tell a story of your journey.

I live in the UK, in the country’s most uneventful city, where the most interesting story in the local paper is about banning dressing gowns in supermarkets.
I travel and I write, because surely there are more interesting stories than that to write about and share.